How to: Survive Post-Holiday Blues

Ah, the holidays are over. Right now you are probably experiencing Christmas-withdrawl, food and sugar comas, family overload, smaller bank accounts, and back-to-work anxiety. Just know that you are not alone in your post-holiday blues.

Here are some of my suggestions on how to deal with the transition back to real life:

1. Ease your way in by rewarding yourself every two hours for surviving with leftover Christmas chocolate.

2. Secretly listen to your favorite Christmas carol at least once a day until you are ready to let go.

3. Start walking in the morning for at least 10 minutes, and increase your time every day as you begin to get used to your ligaments moving again.

4. If you are experiencing an extreme case of anxiety, take 5 shots of a peppermint mocha latte. Slowly ween yourself off.

5. Space out your use of your Christmas gifts. Don’t use or wear your gifts all in one week! Spread it out so you can enjoy the excitement of new things longer.

6. It’s okay to leave your Christmas tree up for a little while longer. Just remember, the longer you wait, the harder it will be. I suggest the last day to keep it up should be Jan. 11. Longer than that, and it will probably be a fire hazard, if it isn’t already.Don’t say that I didn’t warn you!

7. Read your favorite blogs (wink wink) to get your mind off your post-holiday blues.

Hopefully that list will help you get through!

—–

Here are some snippets of my vacay!

20140102-145728.jpg

Half Moon Bay – Coastal Walk behind the Ritz Carlton

20140102-150203.jpg
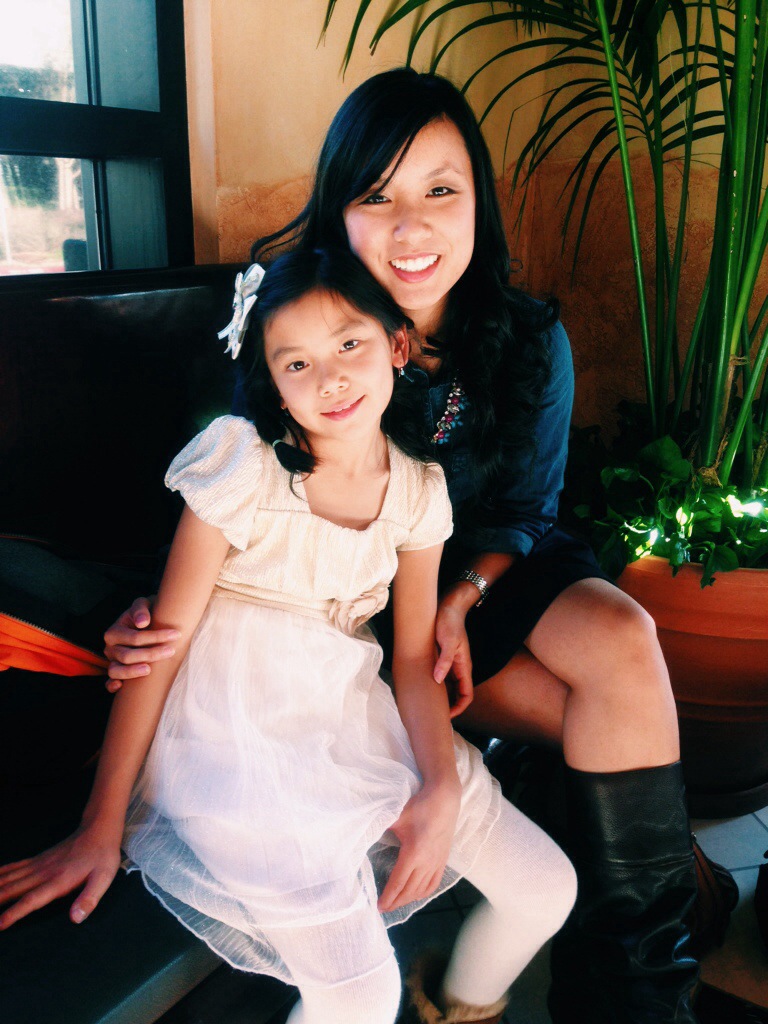
Got to spend a week with this cutie pie!

20140102-150154.jpg

The grandchildren. Yes, we are extremely mature.

20140102-145742.jpgSome mansion near Caroline Park – Redlands, CA

20140102-145754.jpg
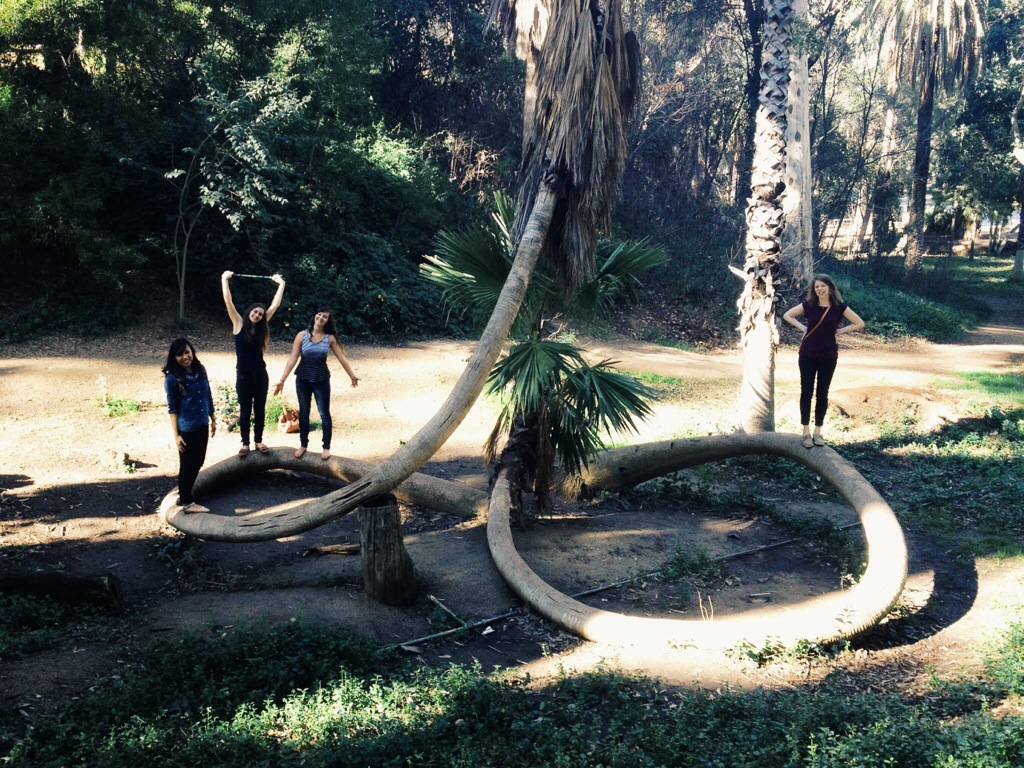
Awesome palm tree we found

20140102-145804.jpgStarting my couple of days in Santa Barbara with Backyard Bowls of course!

More picture and outfits in a wee bit! Follow me on Instagram for more snippets and FIRST LOOKS of outfits before they’re published!

DIY Fridays – Magnetic Bottle Caps (Plus my first Giveaway!)

So I keep getting requests for DIY projects, so here you go! Look out every Friday for a post about little projects and/or activities that you can do over the weekend to get your crafting-fix. These projects may be something that I personally have done, or something that I found randomly that I thought you might enjoy.

Today’s post is about a project that I did a couple years ago for my family for Christmas. I come from a humungous family and so it’s hard and expensive to buy everyone gifts. So that year, I decided to make something sentimental as well as cost efficient — Bottlecap Magnets!

You can fill the bottle caps with any picture/paper you want! And if you get the bottle caps that fan out, it makes a great “frame”.

 DSC_4389
*For these I used Izze bottle caps because they were twist offs. Notice that they don’t fan out.

DSC_4387
*These I bought online (link below)

DSC_4395

Materials:
1. Bottle Caps (You can either save them or buy them!)
2. 1-inch circle punch
3. Resin (can be found at Michael’s)
4. Plastic cup and spoon
5. Tupperware or box of some sort as a cover
6. Hot Glue
7. Mini Circular magnets (can be found at Michael’s)

DIRECTIONS:
1. Using the circle punch, punch out pictures and/or pretty paper.

2. Follow instructions on the Resin bottles to create the mixture.

3. Place the paper circles that you just punched out into the bottle caps. Carefully pour the resin into the bottle cap. I suggest using a plastic spoon to pour it in so that you won’t be in danger of having an overflow.

4. Make sure that there are no air bubbles by breathing on them. Yes, I said breathing. The heat from your breath will smooth out the bubbles. (Keep an eye out. You may need to do this every so often just to make sure the bubbles don’t come back.)

5. Place the tupperware or box of some sort over them to keep dirt and other air particles from ruining it. You will probably have to wait overnight or a day or two to make sure it sets completely.
6. After it sets, hot glue the circular magnets onto the back, and there you go!

Packaging ideas: Check out Thrifty and Thriving and how she packages her homemade magnets. Also, she uses clear marbles to make her magnets instead. Check it out!

*Sorry for the lack of step-by-step pictures. If you come across any problems while doing the project, feel free to contact me!

—–

GIVEAWAY

Now for the giveaway! Christmas is around the corner and so I am offering my readers a chance to win a great stocking stuffer!

This giveaway is for a set of 3 handmade blank cards and envelopes from Cross And Dot. They are hand-stamped and embossed and definitely made with love. 🙂

DSC_2124
IMG_1237
* Only the “Bicycle” set is part of the giveaway. Sorry!

To Enter:

1. Like the Snippetswithalex Facebook Page.
2. Leave a comment on this post with your name, email, and your favorite Snippetswithalex blogpost thus far and why.
3. For an extra entry, share the Facebook page on your FB timeline!

Giveaway will end Tuesday, Dec. 17th and the winner will be posted on Wednesday, Dec. 18 and will receive their gift in the mail in time for Christmas!

Happy Holidays!