So I keep getting requests for DIY projects, so here you go! Look out every Friday for a post about little projects and/or activities that you can do over the weekend to get your crafting-fix. These projects may be something that I personally have done, or something that I found randomly that I thought you might enjoy.
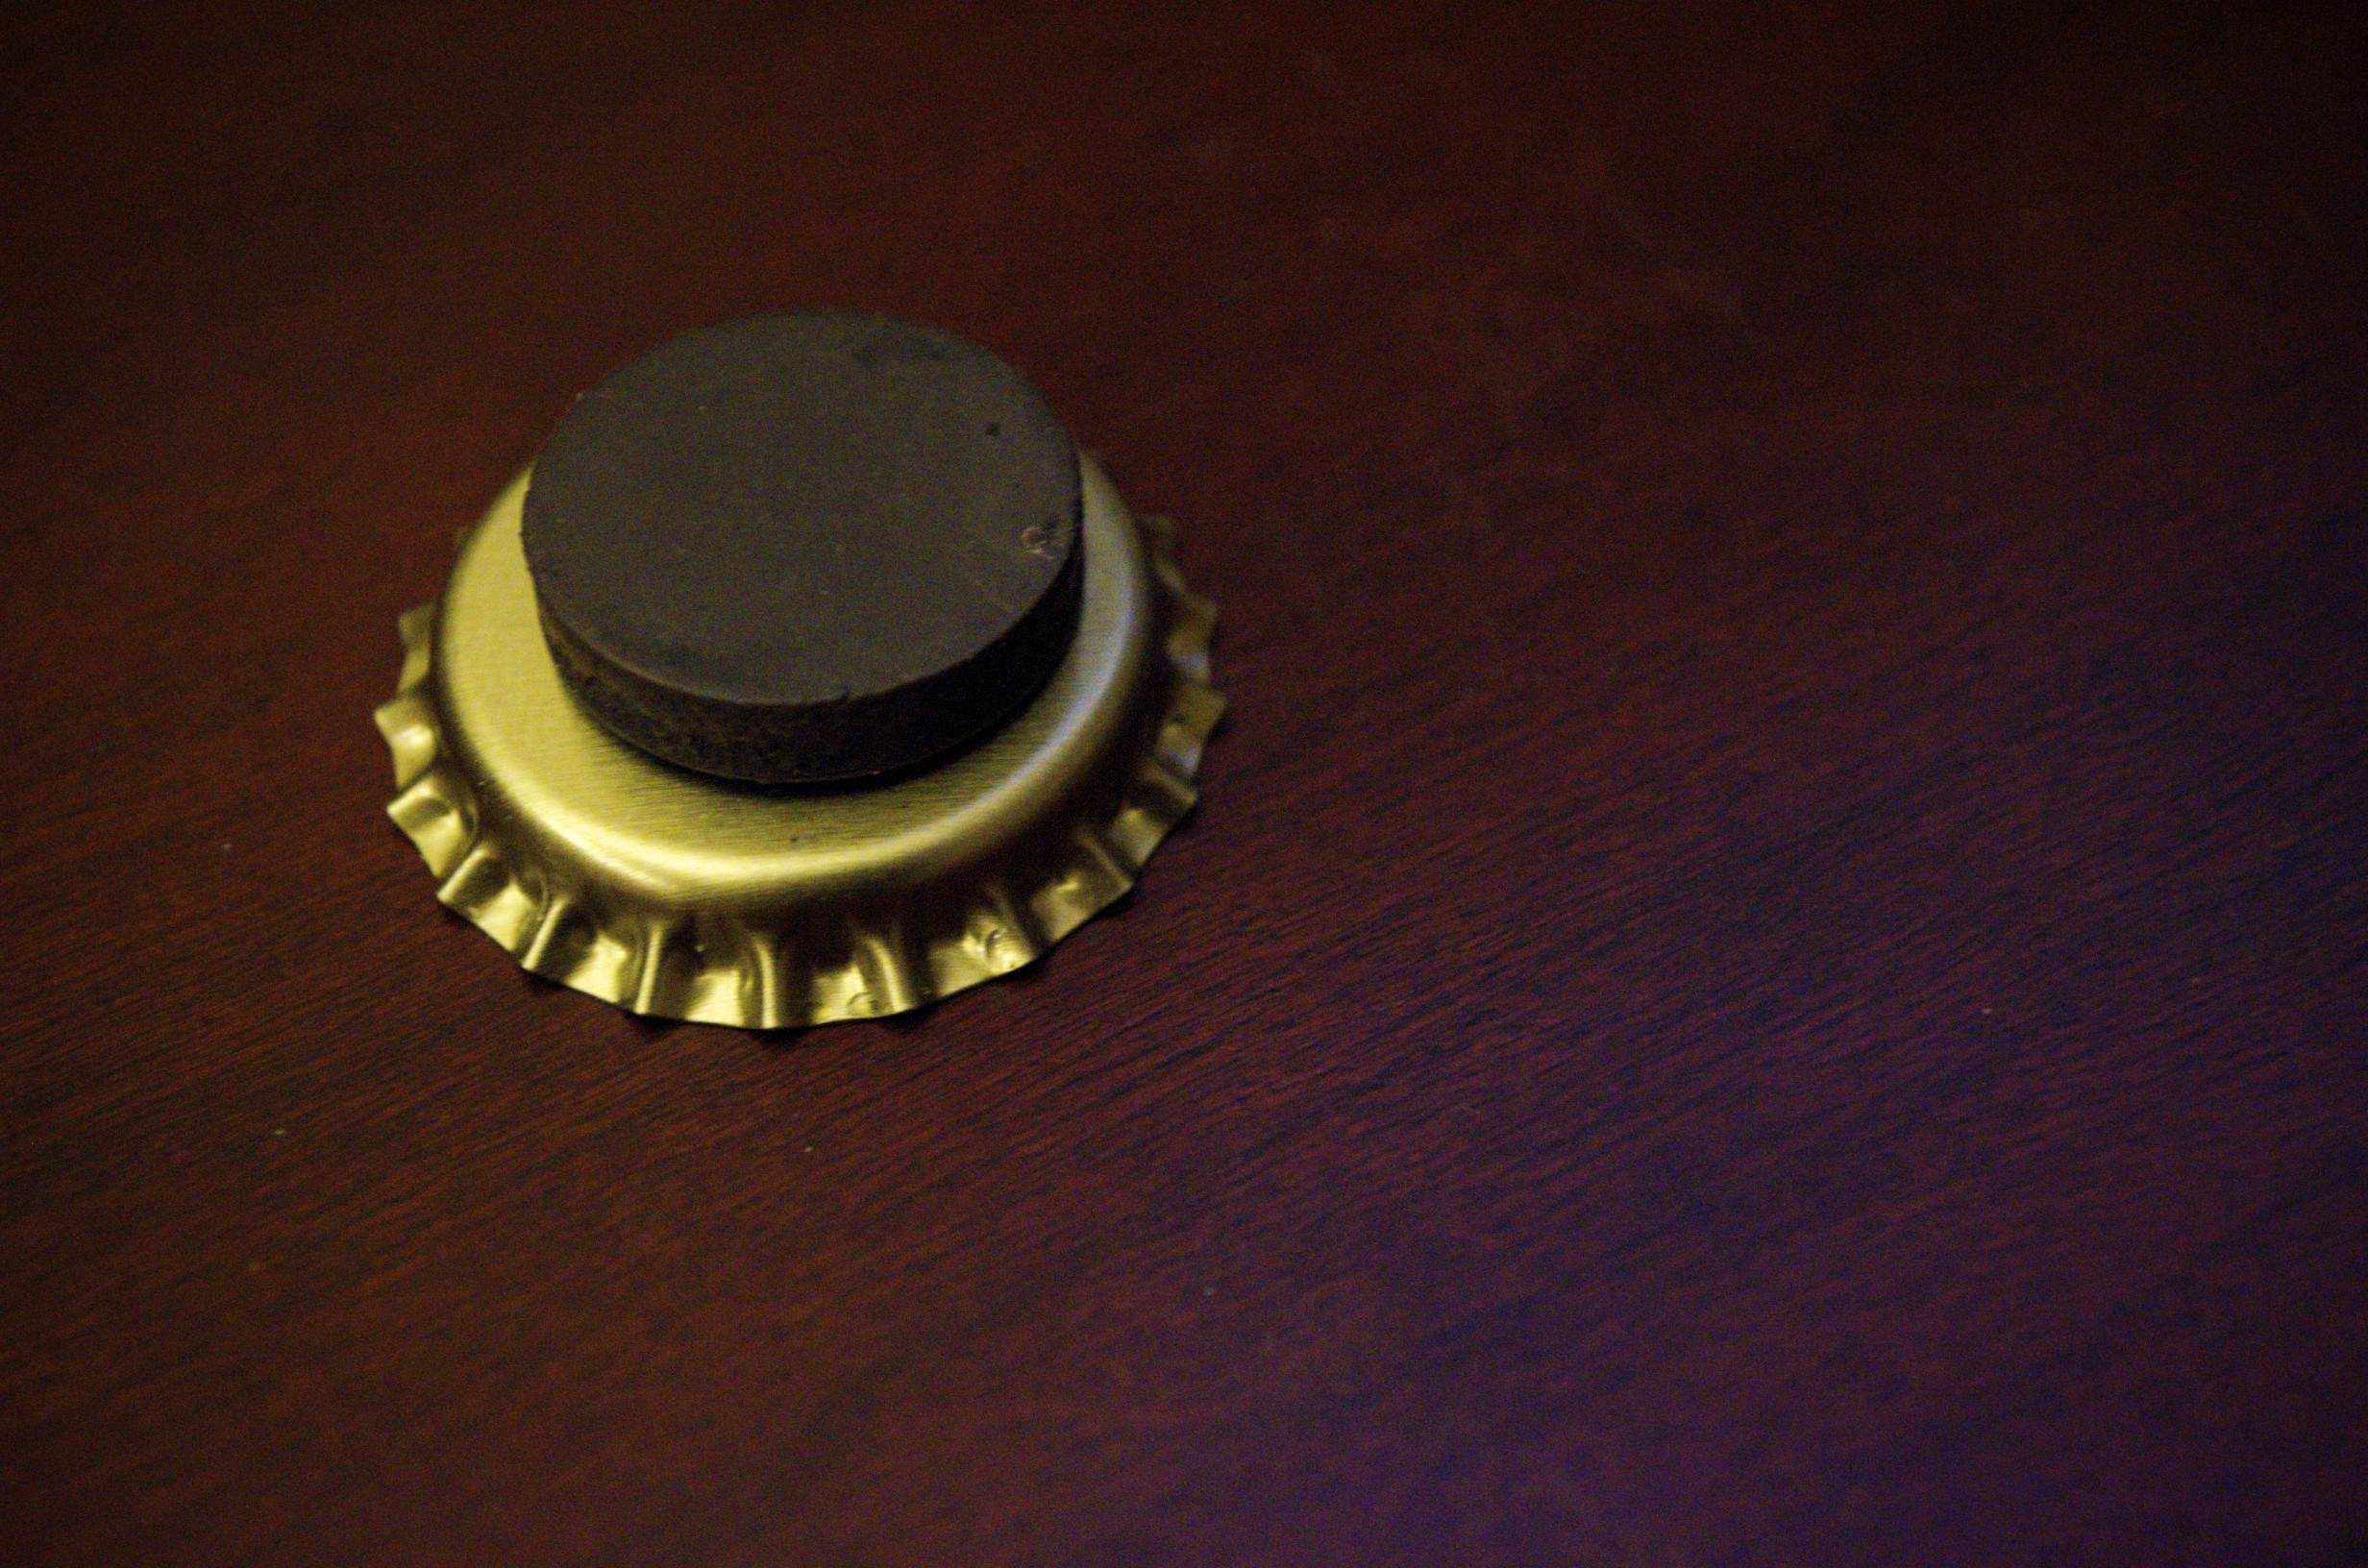
Today’s post is about a project that I did a couple years ago for my family for Christmas. I come from a humungous family and so it’s hard and expensive to buy everyone gifts. So that year, I decided to make something sentimental as well as cost efficient — Bottlecap Magnets!
You can fill the bottle caps with any picture/paper you want! And if you get the bottle caps that fan out, it makes a great “frame”.

*For these I used Izze bottle caps because they were twist offs. Notice that they don’t fan out.

*These I bought online (link below)
Materials:
1. Bottle Caps (You can either save them or buy them!)
2. 1-inch circle punch
3. Resin (can be found at Michael’s)
4. Plastic cup and spoon
5. Tupperware or box of some sort as a cover
6. Hot Glue
7. Mini Circular magnets (can be found at Michael’s)
DIRECTIONS:
1. Using the circle punch, punch out pictures and/or pretty paper.
2. Follow instructions on the Resin bottles to create the mixture.
3. Place the paper circles that you just punched out into the bottle caps. Carefully pour the resin into the bottle cap. I suggest using a plastic spoon to pour it in so that you won’t be in danger of having an overflow.
4. Make sure that there are no air bubbles by breathing on them. Yes, I said breathing. The heat from your breath will smooth out the bubbles. (Keep an eye out. You may need to do this every so often just to make sure the bubbles don’t come back.)
5. Place the tupperware or box of some sort over them to keep dirt and other air particles from ruining it. You will probably have to wait overnight or a day or two to make sure it sets completely.
6. After it sets, hot glue the circular magnets onto the back, and there you go!
Packaging ideas: Check out Thrifty and Thriving and how she packages her homemade magnets. Also, she uses clear marbles to make her magnets instead. Check it out!
*Sorry for the lack of step-by-step pictures. If you come across any problems while doing the project, feel free to contact me!
—–
GIVEAWAY
Now for the giveaway! Christmas is around the corner and so I am offering my readers a chance to win a great stocking stuffer!
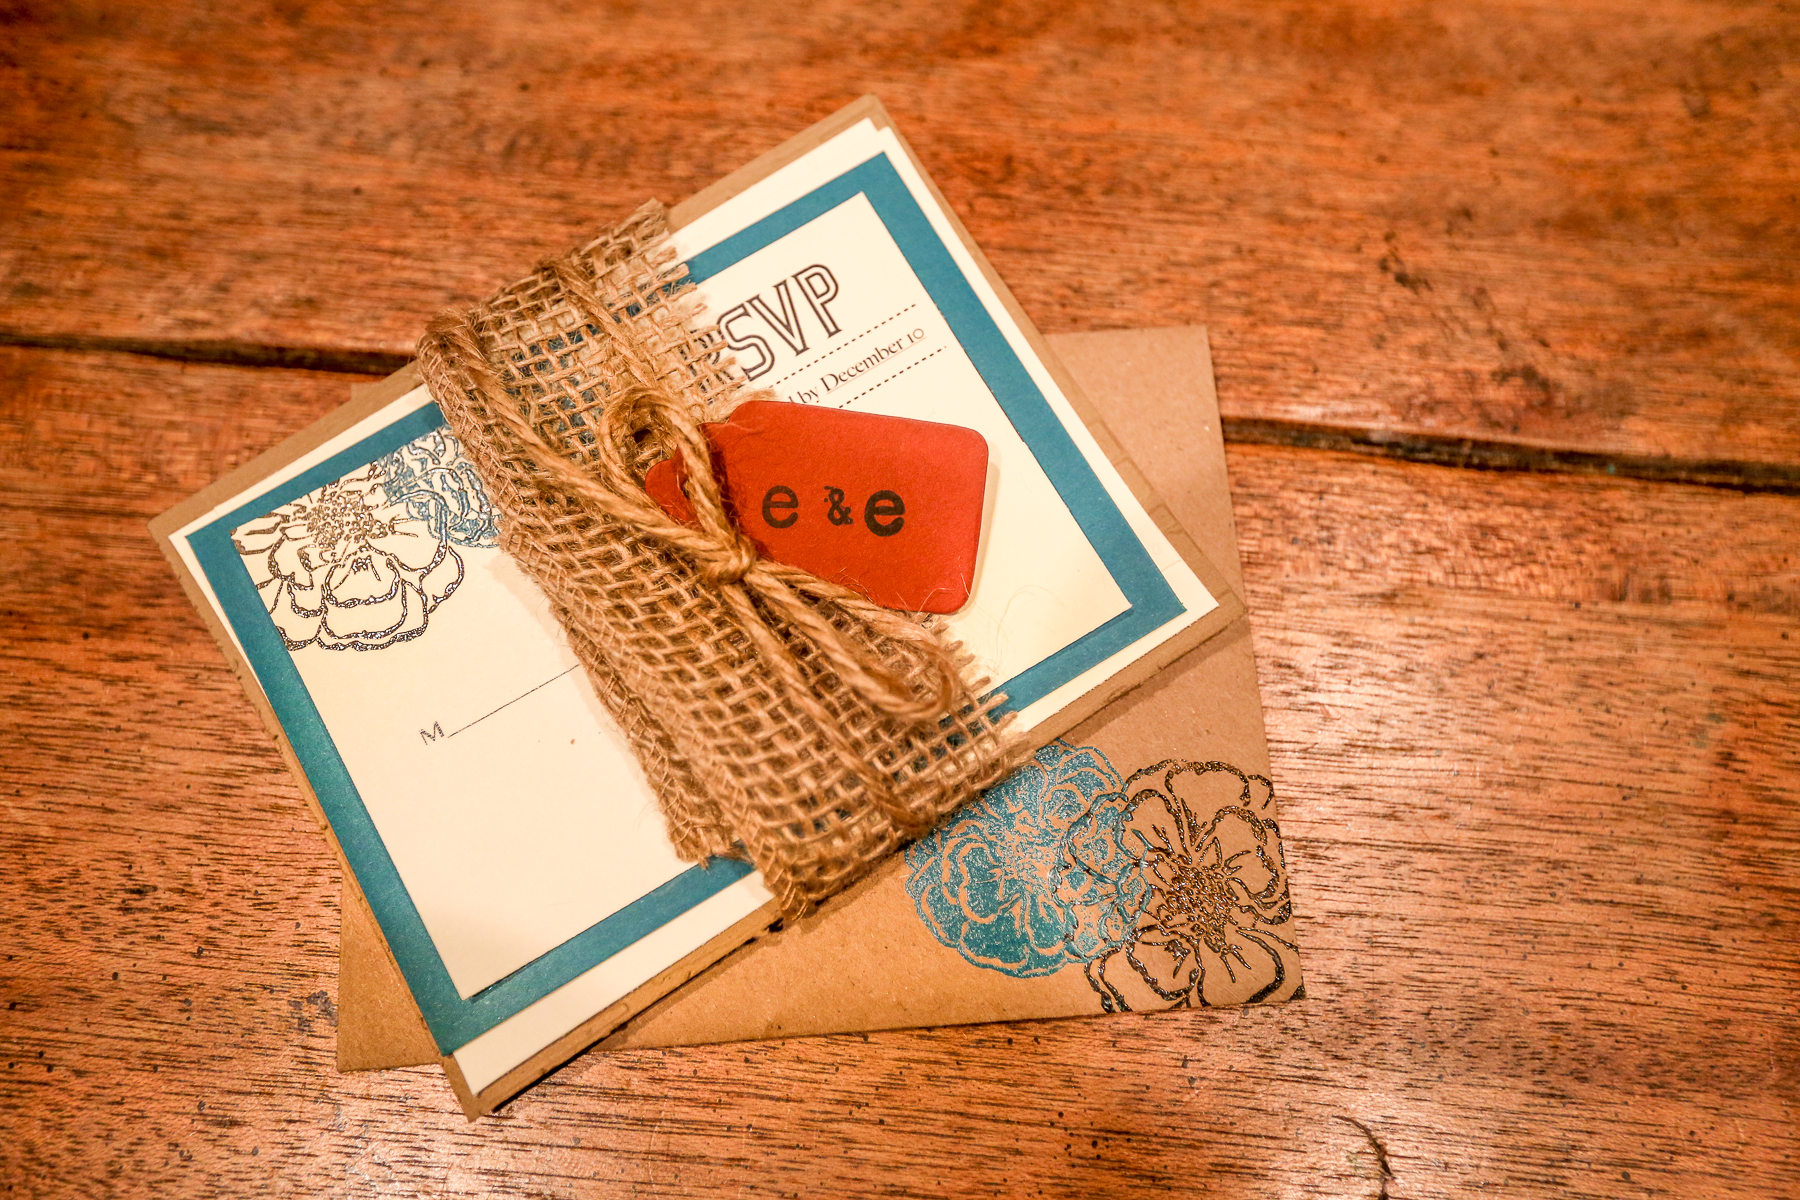
This giveaway is for a set of 3 handmade blank cards and envelopes from Cross And Dot. They are hand-stamped and embossed and definitely made with love. 🙂
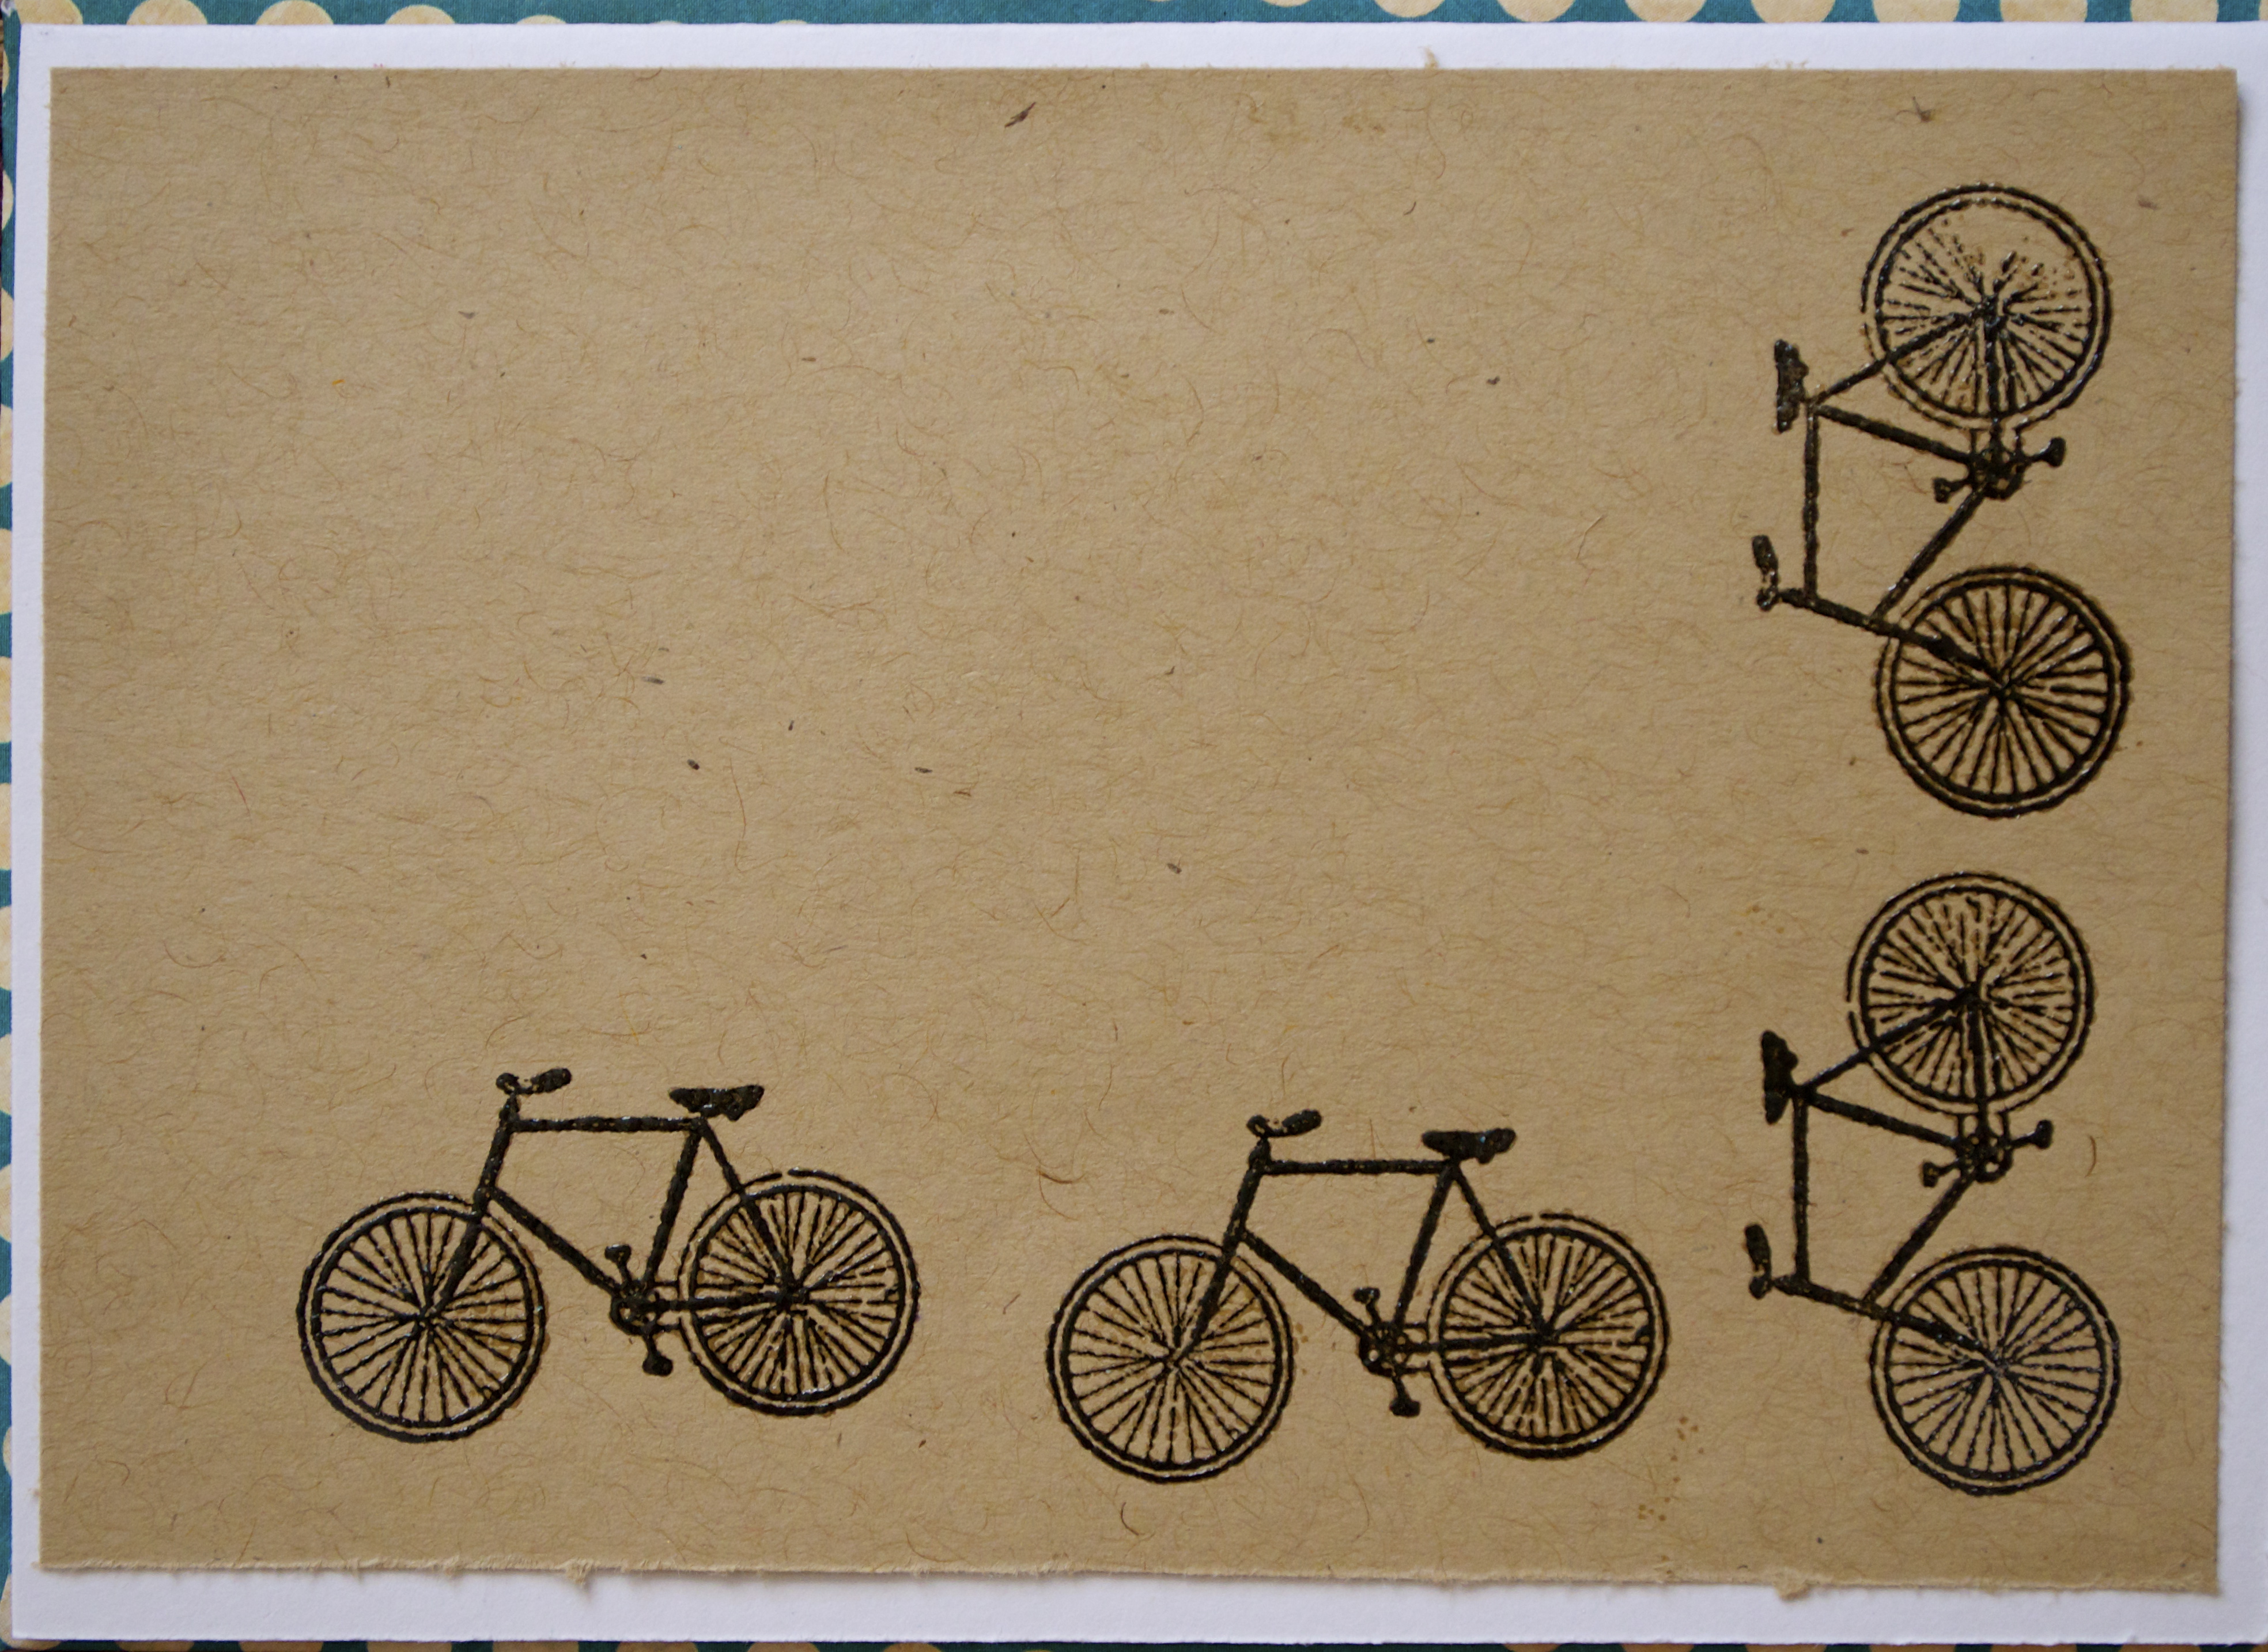
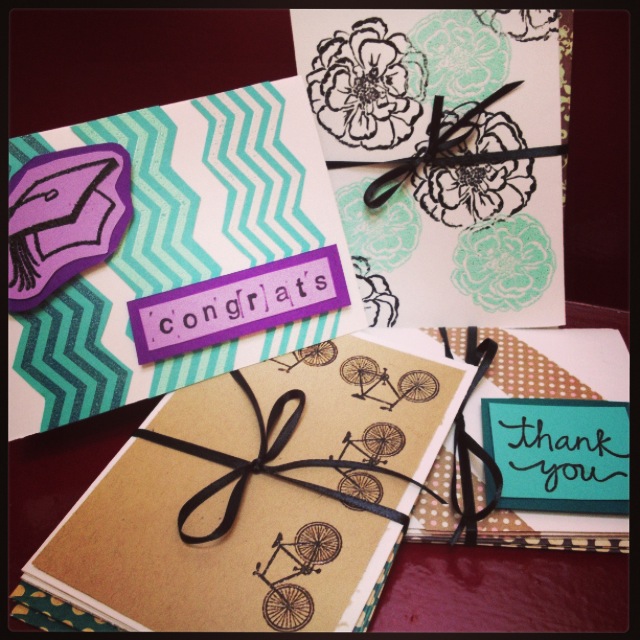
* Only the “Bicycle” set is part of the giveaway. Sorry!
To Enter:
1. Like the Snippetswithalex Facebook Page.
2. Leave a comment on this post with your name, email, and your favorite Snippetswithalex blogpost thus far and why.
3. For an extra entry, share the Facebook page on your FB timeline!
Giveaway will end Tuesday, Dec. 17th and the winner will be posted on Wednesday, Dec. 18 and will receive their gift in the mail in time for Christmas!
Happy Holidays!